
01/17/2022
6 Amazing Ways To Lay Subway Tiles
Check out some interesting layouts for your subway tiles!
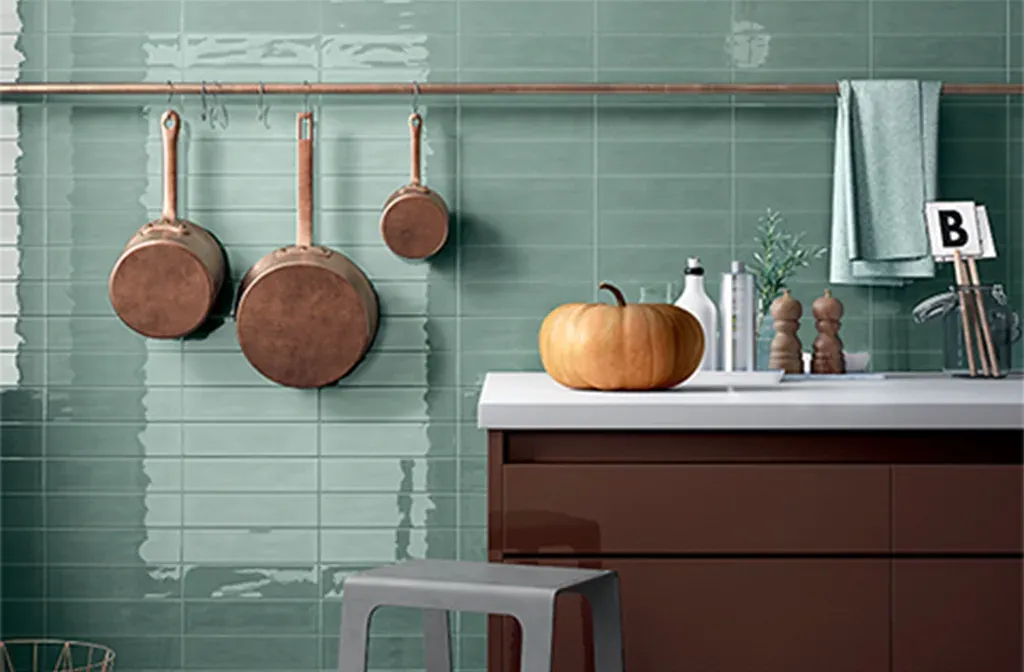
Subway Tiles originated back in the early 1900s where they were first used in New York City’s subway station. Even though they have been around for a long time, they are still one of homeowners' favorite — thanks to their timeless and versatile look that suit any interior style!
Today, subway tiles are available in a wide array of designs and can be laid in many different variations. Here are some ways for you to explore how you can lay your subway tiles for your next renovation project!
Stack Bond
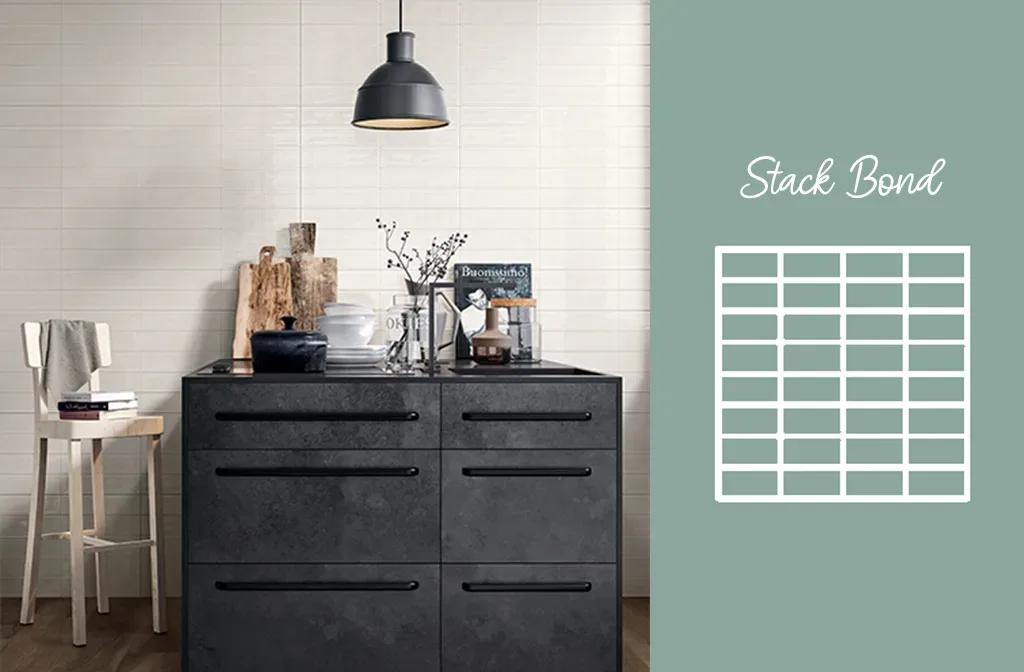
Stack Bond is one of the most common and simplest ways to lay your subway tiles. This arrangement consists of horizontally oriented tiles stacked directly on top of each other and is perfectly aligned, creating a sleek and clean look in your interiors!
Vertical Stack Bond
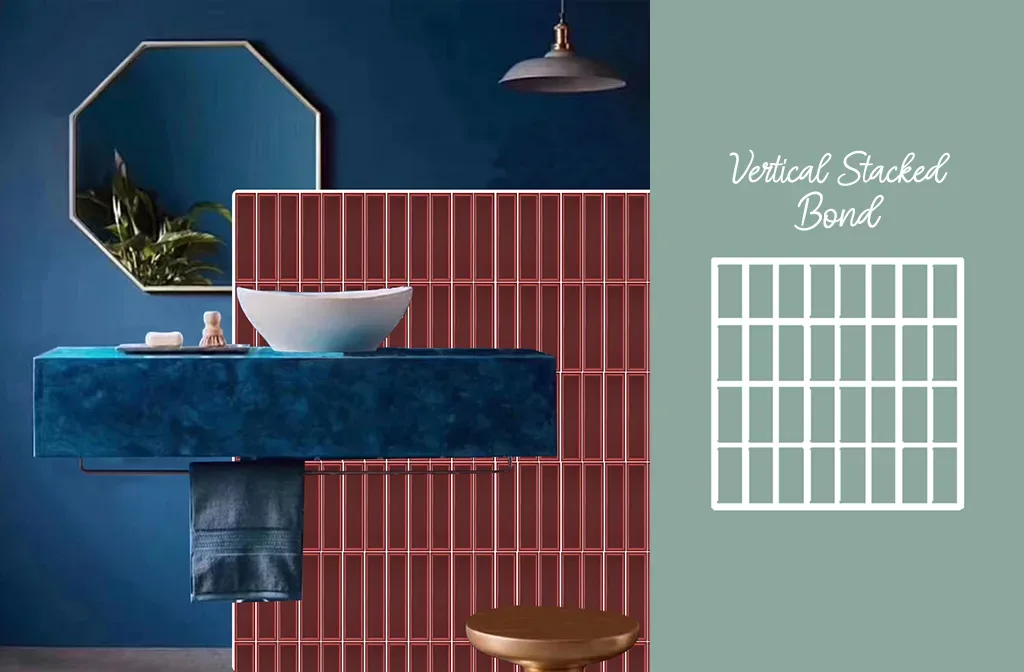
Stack Bond patterns can also be laid vertically to create an elongated effect on your walls. An ideal choice for rooms with low ceilings or enclosed spaces, as it creates an illusion of a higher ceiling!
Offset
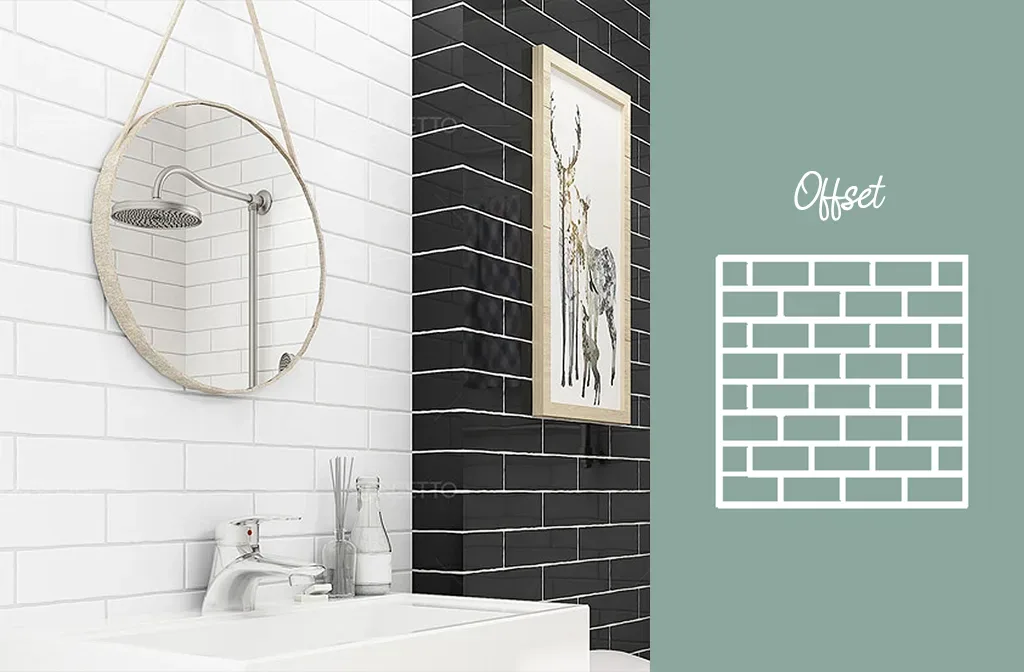
M75300L - 75x300 mm & Devon Black - 75x300 mm
For a more visually varied look for your bathroom walls, opt for an Offset pattern. This arrangement consists of rows of tiles laid horizontally at a 50% offset, just like bricks. If you’re going for a classic and timeless look, then this layout may be the best option for you!
Herringbone
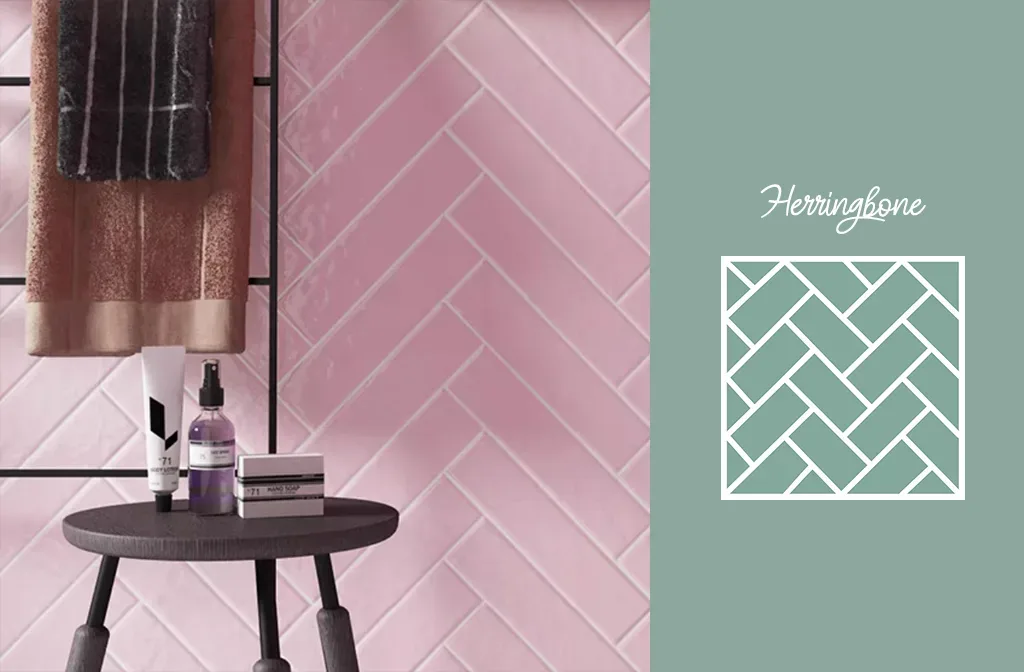
Whether it's for kitchen backsplashes or bathroom walls, the Classic Herringbone creates a huge statement in any space! You can form herringbone patterns by placing tiles at a 90-degree angle and shifting it slightly to create a point or arrow that moves up or down. To make the most of this pattern, opt for tiles with contrasting colors to instantly elevate the looks of your interiors.
Straight Herringbone
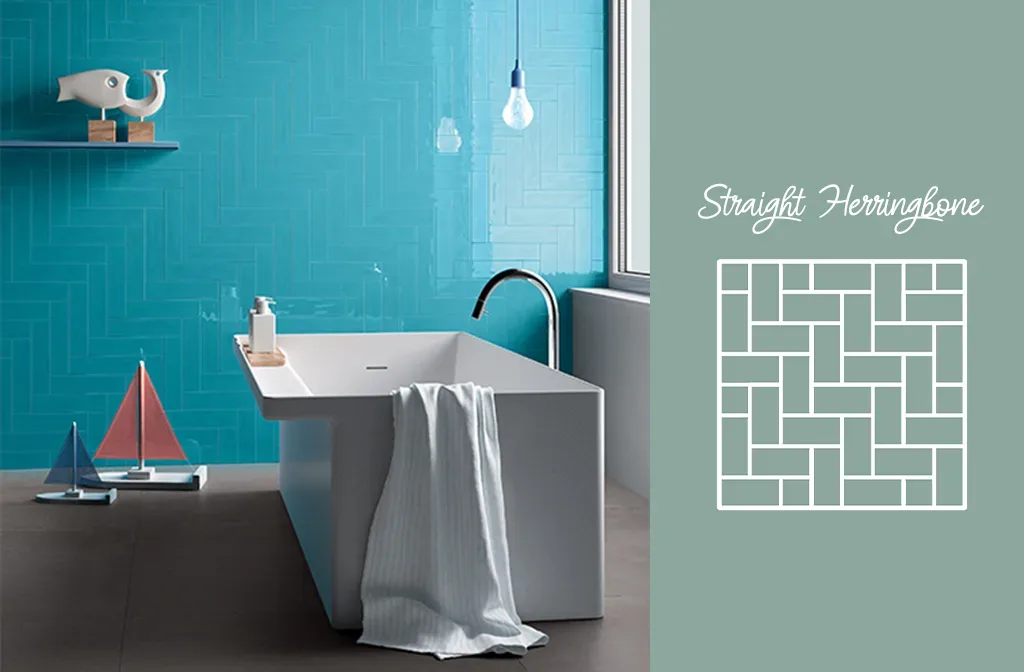
Another fun alternative to the Classic Herringbone layout is the Straight Herringbone. The arrangement is done by placing subway tiles in an L-shaped pattern forming 90-degree angled positions to one another. When done right, Straight Herringbone pattern evokes a sense of movement and creates enticing visuals for your bathroom walls!
Crosshatch
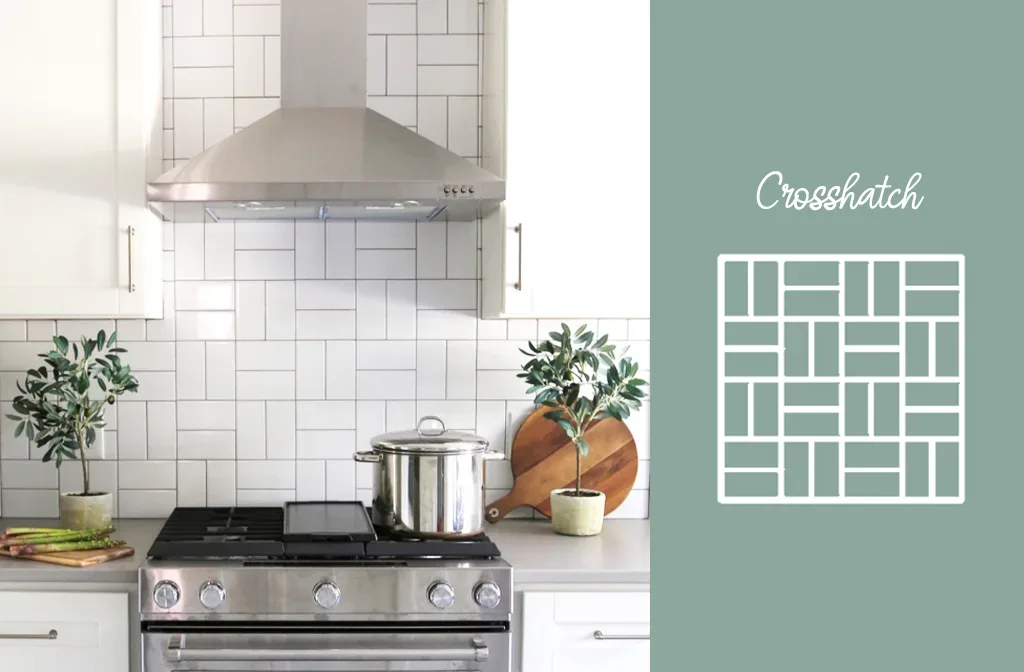
Image from The Decorologist | OW011X - 75x150 mm
The Crosshatch or Basket Weave pattern is a creative way to spice up the look of your mundane wall! To achieve this layout, simply alternate pairs of horizontally and vertically laid tiles and make a grid-like pattern that resembles a woven basket.
We hope this article is able to help you in finding a suitable layout for your subway tiles, or even better, manage to spark your interest in exploring more ways of laying them.
View our full selection of subway tiles here or download our catalog!